Getting started
Download
Tuplex is available for MacOS and Linux. The current version has been tested under MacOS 10.13-10.15 and Ubuntu 18.04 and 20.04 LTS.
To install Tuplex, you can use a PyPi package for Linux, or a Docker container for MacOS.
Linux, Python 3.7-3.9:
pip install tuplex
MacOS, Catalina or later:
docker run -p 8888:8888 tuplex/tuplex
Alternatively, you can compile Tuplex from source.
Overview
Tuplex consists of three components: the Python frontend, C++ backend and the Tuplex WebUI.
If you installed Tuplex via PyPi or Docker, everything is preinstalled.
For installations from source, the frontend/backend package are within the <build-prefix>/dist/python folder and can be installed via
python3 setup.py install
or for development mode
python3 setup.py develop
Analogously, in order to use the Tuplex WebUI the corresponding package needs to be installed which can be found in historyserver.
Basic usage
Tuplex behaves like a standard Python package. To test, whether the package works you can type python3 in a terminal
python3
which should start the CPython interpreter in interactive mode.
Python 3.9.0 (default, Oct 27 2020, 14:15:17)
[Clang 12.0.0 (clang-1200.0.32.21)] on darwin
Type "help", "copyright", "credits" or "license" for more information.
>>>
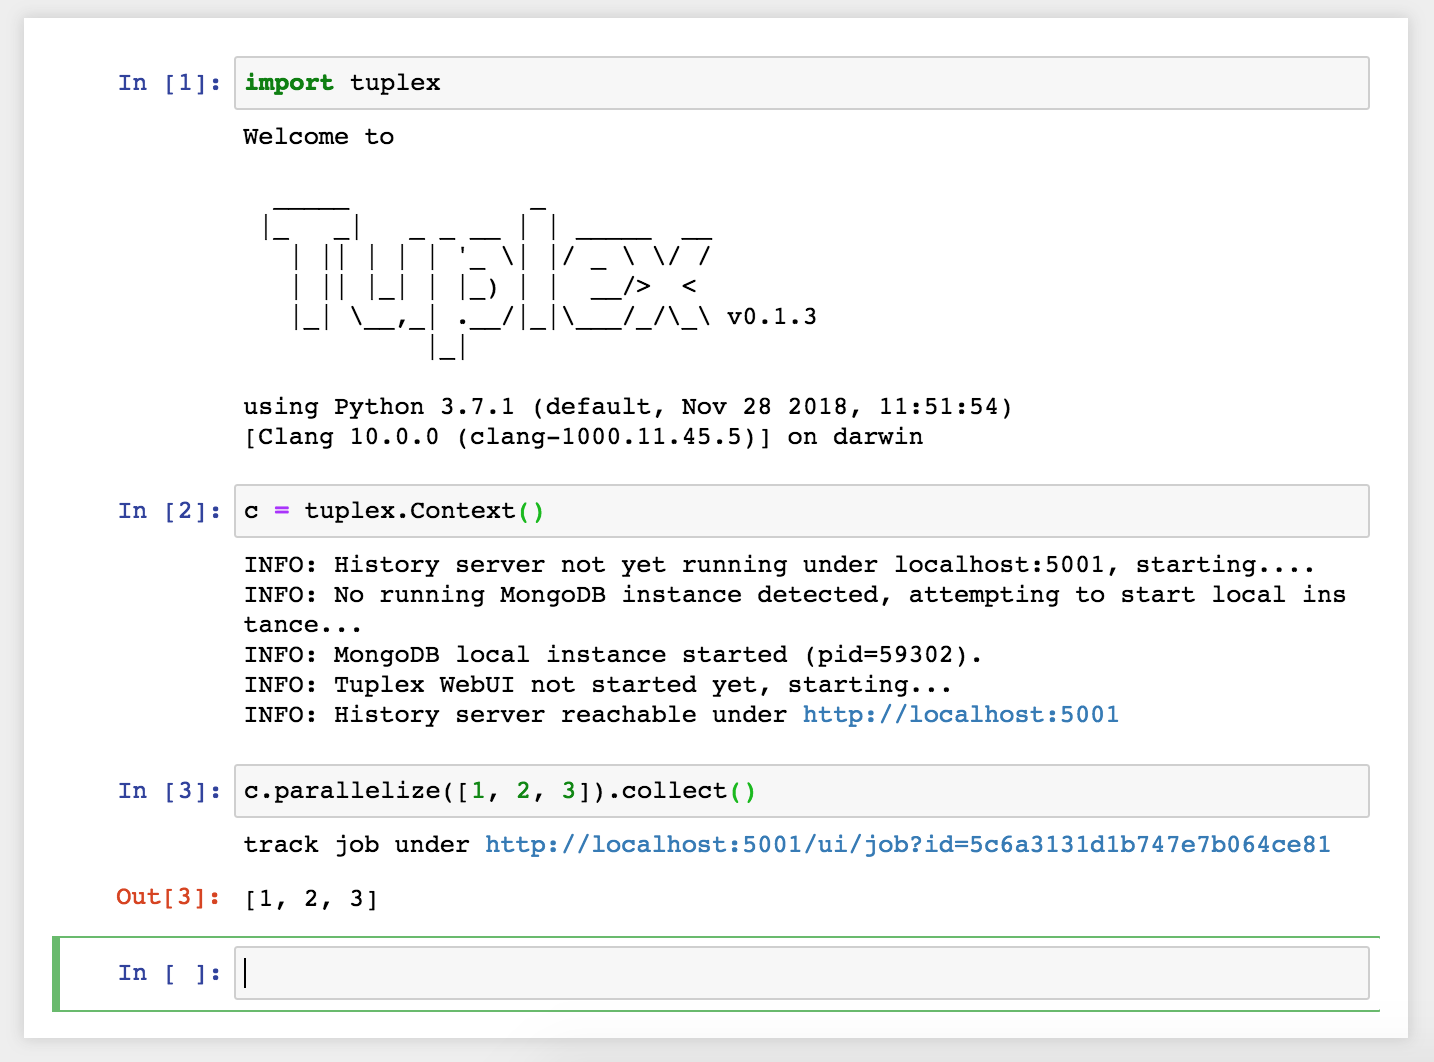
With import tuplex the system will be imported. Tuplex automatically creates then a Tuplex Interactive shell within the interpreter.
Welcome to

  _____            _
 |_   _|   _ _ __ | | _____  __
   | || | | | '_ \| |/ _ \ \/ /
   | || |_| | |_) | |  __/>  <
   |_| \__,_| .__/|_|\___/_/\_\ 0.3.0
            |_|

using Python 3.9.0 (default, Oct 27 2020, 14:15:17)
[Clang 12.0.0 (clang-1200.0.32.21)] on darwin
 Interactive Shell mode
>>>
To create a context object, which serves as central entry point for all pipelines, type c = Context().
Depending on your configuration, this might take a while since Tuplex may start up its history server. To run a simple job, execute e.g., the following source code snippet.
c.parallelize([1, 2, 3]).map(lambda x: x * x).collect()
Alternatively, you can write your pipeline in a file pipeline.py and execute it via python3 pipeline.py.
Tuplex can be also used in Jupyter notebooks. Our Docker container exposes the notebook at localhost:8888.
You can find more examples on how to use the Tuplex Python API under Examples.
Creating Pipelines
A simple example of Tuplex in action is
from tuplex import *
c = Context()
res = c.parallelize([1, 2, 3, 4]).map(lambda x: (x, x * x)).collect()
# this prints [(1, 1), (2, 4), (3, 9), (4, 16)]
print(res)
This produces an array of tuples whose second component holds the square of the first.
Imagine now, a user would like to execute the following snippet
from tuplex import *
c = Context()
res = c.parallelize([1, 2, None, 4]).map(lambda x: (x, x * x)).collect()
# this prints [(1, 1), (2, 4), (4, 16)]
print(res)
Using regular python or Apache Spark, this would result in an error and the job would crash. However, Tuplex collects records that cause errors in a special memory region which allows for later resolution using its API.
from tuplex import *
c = Context()
res = c.parallelize([1, 2, 3, 4]) \
       .map(lambda x: float(x) / (x - 1)).collect()
       .resolve(ZeroDivisionError, 0.0) \
# prints [0.0, 2.0, 1.5, 1.33]
print(res)
Of course this toy example does not really require a sophisticated resolution mechanism. However, when processing large quantities of input files, a job may fail after an unpredictable amount of time. In the best case after seconds, in the worst case after a couple days or even weeks. As for most frameworks, the more robust the pipeline itself needs to be towards the input data, the more tests need to be written, the pipeline tested for different scenarios and a use-case specific special error treatment implemented. All of it coming at the sacrifice of speed and efficient pipeline writing. Tuplex helps to solve this problem by treating errors as first class citizens and making thus pipeline deployment and maintenance easier with its close-to-zero overhead when it comes to exception handling.
Core classes
tuplex.ContextMain object that allows to construct a pipeline.
tuplex.DataSetAbstraction holding a list of tuples together. DataSets are mapped, filtered or processed in a monadic way using user defined functions (UDFs).
Building Tuplex from source
1. Using Docker
We provide a Ubuntu 18.04 based docker image which can be used for development/testing/running Tuplex. To build the image, go into the docker folder, first edit create-image.sh to not run the docker push command. Then, run
./create-image.sh
to create the image or pull it via docker pull tuplex/ubuntu1804 if you use docker hub (i.e. make sure to login first via docker login).
This will create a docker image tuplex/ubuntu1804.
You can start the container then via
docker run -it tuplex/ubuntu1804 bash
which gives you a login looking something like root@00967454648b as well. To copy the source code over to the container, run the ./copy-to-docker.sh script in the root directory (on another terminal! not within the docker container) via
./copy_to_docker.sh 00967454648b
For some reason, syncing between docker and the local filesystem seems broken. To be sure, run the script two times.
In the docker login shell, then go to the /code directory where you can find the current code.
cd /code
To build and run tuplex, follow the steps in the general section outlined below.
Note: you can also mount the directory via a docker volume of course.
Docker compose
If you have docker compose installed, another convenient way to quickly startup the docker image is to simply run
docker-compose build
to build an image dev first, and then
docker-compose up
to run the image and setup SSH/GDB Server connections. I.e. you can connect via ssh then to the image using
ssh -p 7776 debugger@localhost # password is dev
2. Under Linux (Ubuntu 18.04)
Since we base the docker image on Ubuntu 18.04, you can simply use the script provided in scripts/ubuntu1804/install_reqs.sh to install all dependencies. Before running it blindly, make sure to open it and go through it to know how it will affect your system setup.
3. Under Mac OS X
A convenient option to install packages under Mac OS X is Homebrew. First, make sure you have XCode installed. Then, install the following formulas via Homebrew:
brew install git cmake python@3.9 llvm@9 boost \
             boost-python3 aws-sdk-cpp pcre2 antlr4-cpp-runtime \
             yaml-cpp celero gflags libmagic
Further, you need to install the cloudpickle python module in order to compile Tuplex.
pip3 install cloudpickle # or use python3 -m pip install cloudpickle
Note: Per default Tuplex uses static libs. However, recently brew changed the AWS SDK to be with shared libs, i.e. running cmake might complain about missing `*.cmake files. To deal with this, you’ve multiple options:
Build without AWS SDK support, i.e. simply pass
-DBUILD_WITH_AWS=OFFInstall AWS SDK and compile it as static libs https://github.com/aws/aws-sdk-cpp, i.e. pass
-DBUILD_SHARED_LIBS=OFFto the cmake command. Looking intoscripts/ubuntu1804/install_reqs.shmight be helpful, as the AWS SDK is installed there in static lib mode.enable shared libs for tuplex, i.e. add
-DBUILD_SHARED_LIBS=ONto the command below.
4. Under Windows
Unfortunately, there’s no support for Tuplex on Windows yet. You may use the docker image though or a virtual machine. Note that the docker engine requires Windows Pro, if you’re a Brown student the university may provide you with a license at no cost.
General Build and test instructions
After having installed the dependencies on your system, in order to create a release version of Tuplex, run
mkdir -p build &&
cd build &&
cmake -DCMAKE_BUILD_TYPE=Release .. &&
make -j$(nproc)
The python package can then be found in build/dist/python. Use one of the following options to install tuplex:
python3 setup.py develop # installs development version
python3 setup.py install --user # installs Tuplex for current user
python3 setup.py install # if you have enough privileges, you can use this version
Running C++ tests
Tuplex has >500 C++ tests currently. To execute them, run ctest in your build directory.
You may select a subset of tests via the -R flag. --output-on-failure will print the logs whenever a test fails. Alternatively, the gtest executables are found in dist/bin and can be run directly with standard GoogleTest flags.
Running Python tests
Tuplex uses pytest as testing framework. To run the tests go to build/dist/python. Then, first install tuplex (e.g. via python3 setup.py develop). To execute the tests, use
py.test
or
python3 -m pytest